A Woodworking Projects for Beginners: The Humble Chopping Board
- Written by News Company
There’s no doubt that building something from scratch offers a suite of rewards – whether you’re in it to demonstrate your creativity, learn basic woodworking skills or wanting to save big bucks on furniture, woodworking provides tangible rewards for everyone. Although the prospect of building something yourself can be intimidating, beginner projects will ensure you don’t need a workshop, dozens of tools or a mastery of carpentry – all you’ll have to equip is a little bit of patience and some elbow grease. In this article, we detail the basic steps required to make a chopping board from scratch for beginners wanting to dip their toe into the wonderful world of woodwork.
Getting started on your chopping board
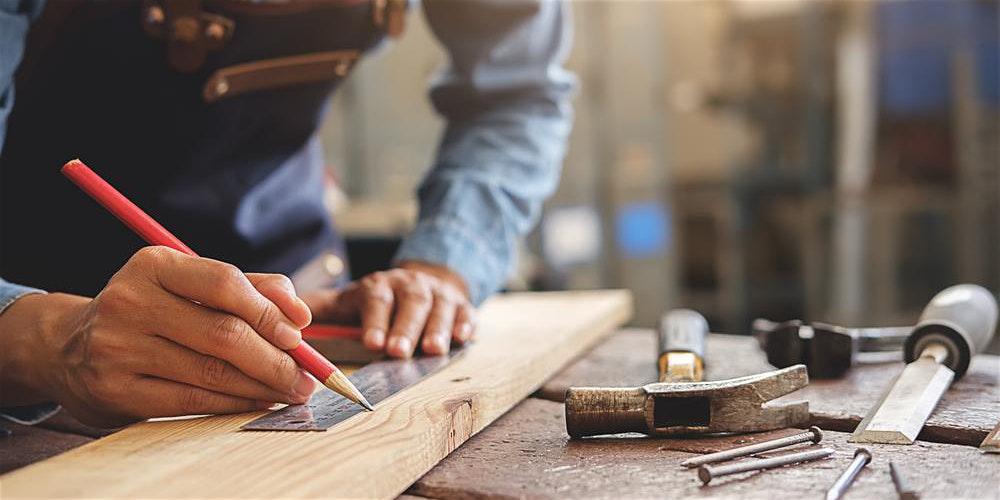
For this project, you thankfully won’t need to run out and grab a Certificate IV in Building and Construction (although you might later depending on how much fun you’ve had!). A great start for those unsure where to begin is a nice, simple chopping board. This is a particularly good place to start as you’ll use it regularly, which can help assure you of the value of woodworking, and it also requires only a few elements. First, have the timber pre-cut to size – choose a size that makes sense for your kitchen, and reserve the best two pieces of timber for both ends of the chopping board. Next, you’ll have to measure and mark on your wood for the three pieces of dowel (the wooden cylindrical rods used to fasten to pieces of wood together). You’ll then need to drill holes for the dowel (a 10mm drill bit should dot the trick here) – just make sure to not drill too deep! With the holes drilled, put some PVA glue into the dowel holes and insert the dowels, using a hammer to gently tap the dowel into position. Then, do the same with the connecting piece of timber.
The final steps in constructing your chopping board
With your pieces of timber connected, you will now have clamp the board together with two clamps. This is an important step as it will help keep the timber in position while the glue dries – otherwise you might have a wonky board! Before you leave it to try, just make sure that you wipe off any residual glue. After the board is dry, you’ll need to sand back all of the surfaces and create a nice, smooth finish. To achieve this, start with a 40 grit sandpaper and then move to a finer grade, making sure to wipe away any dust when you’ve finished sanding. With your block all lovely and smooth, oil your board using a rag or paint brush to apply food-grade stain or oil to every bit of the surface, top and bottom. After it dries, then you can give it another sand and apply more coats as necessary.
Enjoy your new chopping board
With your homemade chopping board complete, you’ll be able to effortlessly slice, dice and serve food in style! With their considerable weight, these blocks are far superior to those found at your typical supermarket, as they will say in place much easier. Just make sure to take proper care of your board – to revitalise it after periods of wear and tear, just sand it back down and reapply more stain or oil.